


Create an S3 Bucket in SST
Just like the previous chapter, we are going to be using AWS CDK in our SST app to create an S3 bucket.
We’ll be adding to the StorageStack that we created.
Add to the Stack
 Add the following above the
 Table definition in stacks/StorageStack.js.
// Create an S3 bucket
const bucket = new Bucket(stack, "Uploads");
Make sure to import the Bucket construct. Replace the import line up top with this.
import { Bucket, Table } from "sst/constructs";
This creates a new S3 bucket using the SST Bucket construct.
Also, find the following line in stacks/StorageStack.js.
return {
  table,
};
And add the bucket below table.
bucket,
This’ll allow us to reference the S3 bucket in other stacks.
Note, learn more about sharing resources between stacks here.
Deploy the App
If you switch over to your terminal, you’ll notice that your changes are being deployed.
Note that, you’ll need to have sst dev running for this to happen. If you had previously stopped it, then running npx sst dev will deploy your changes again.
You should see that the storage stack has been updated.
✓  Deployed:
   StorageStack
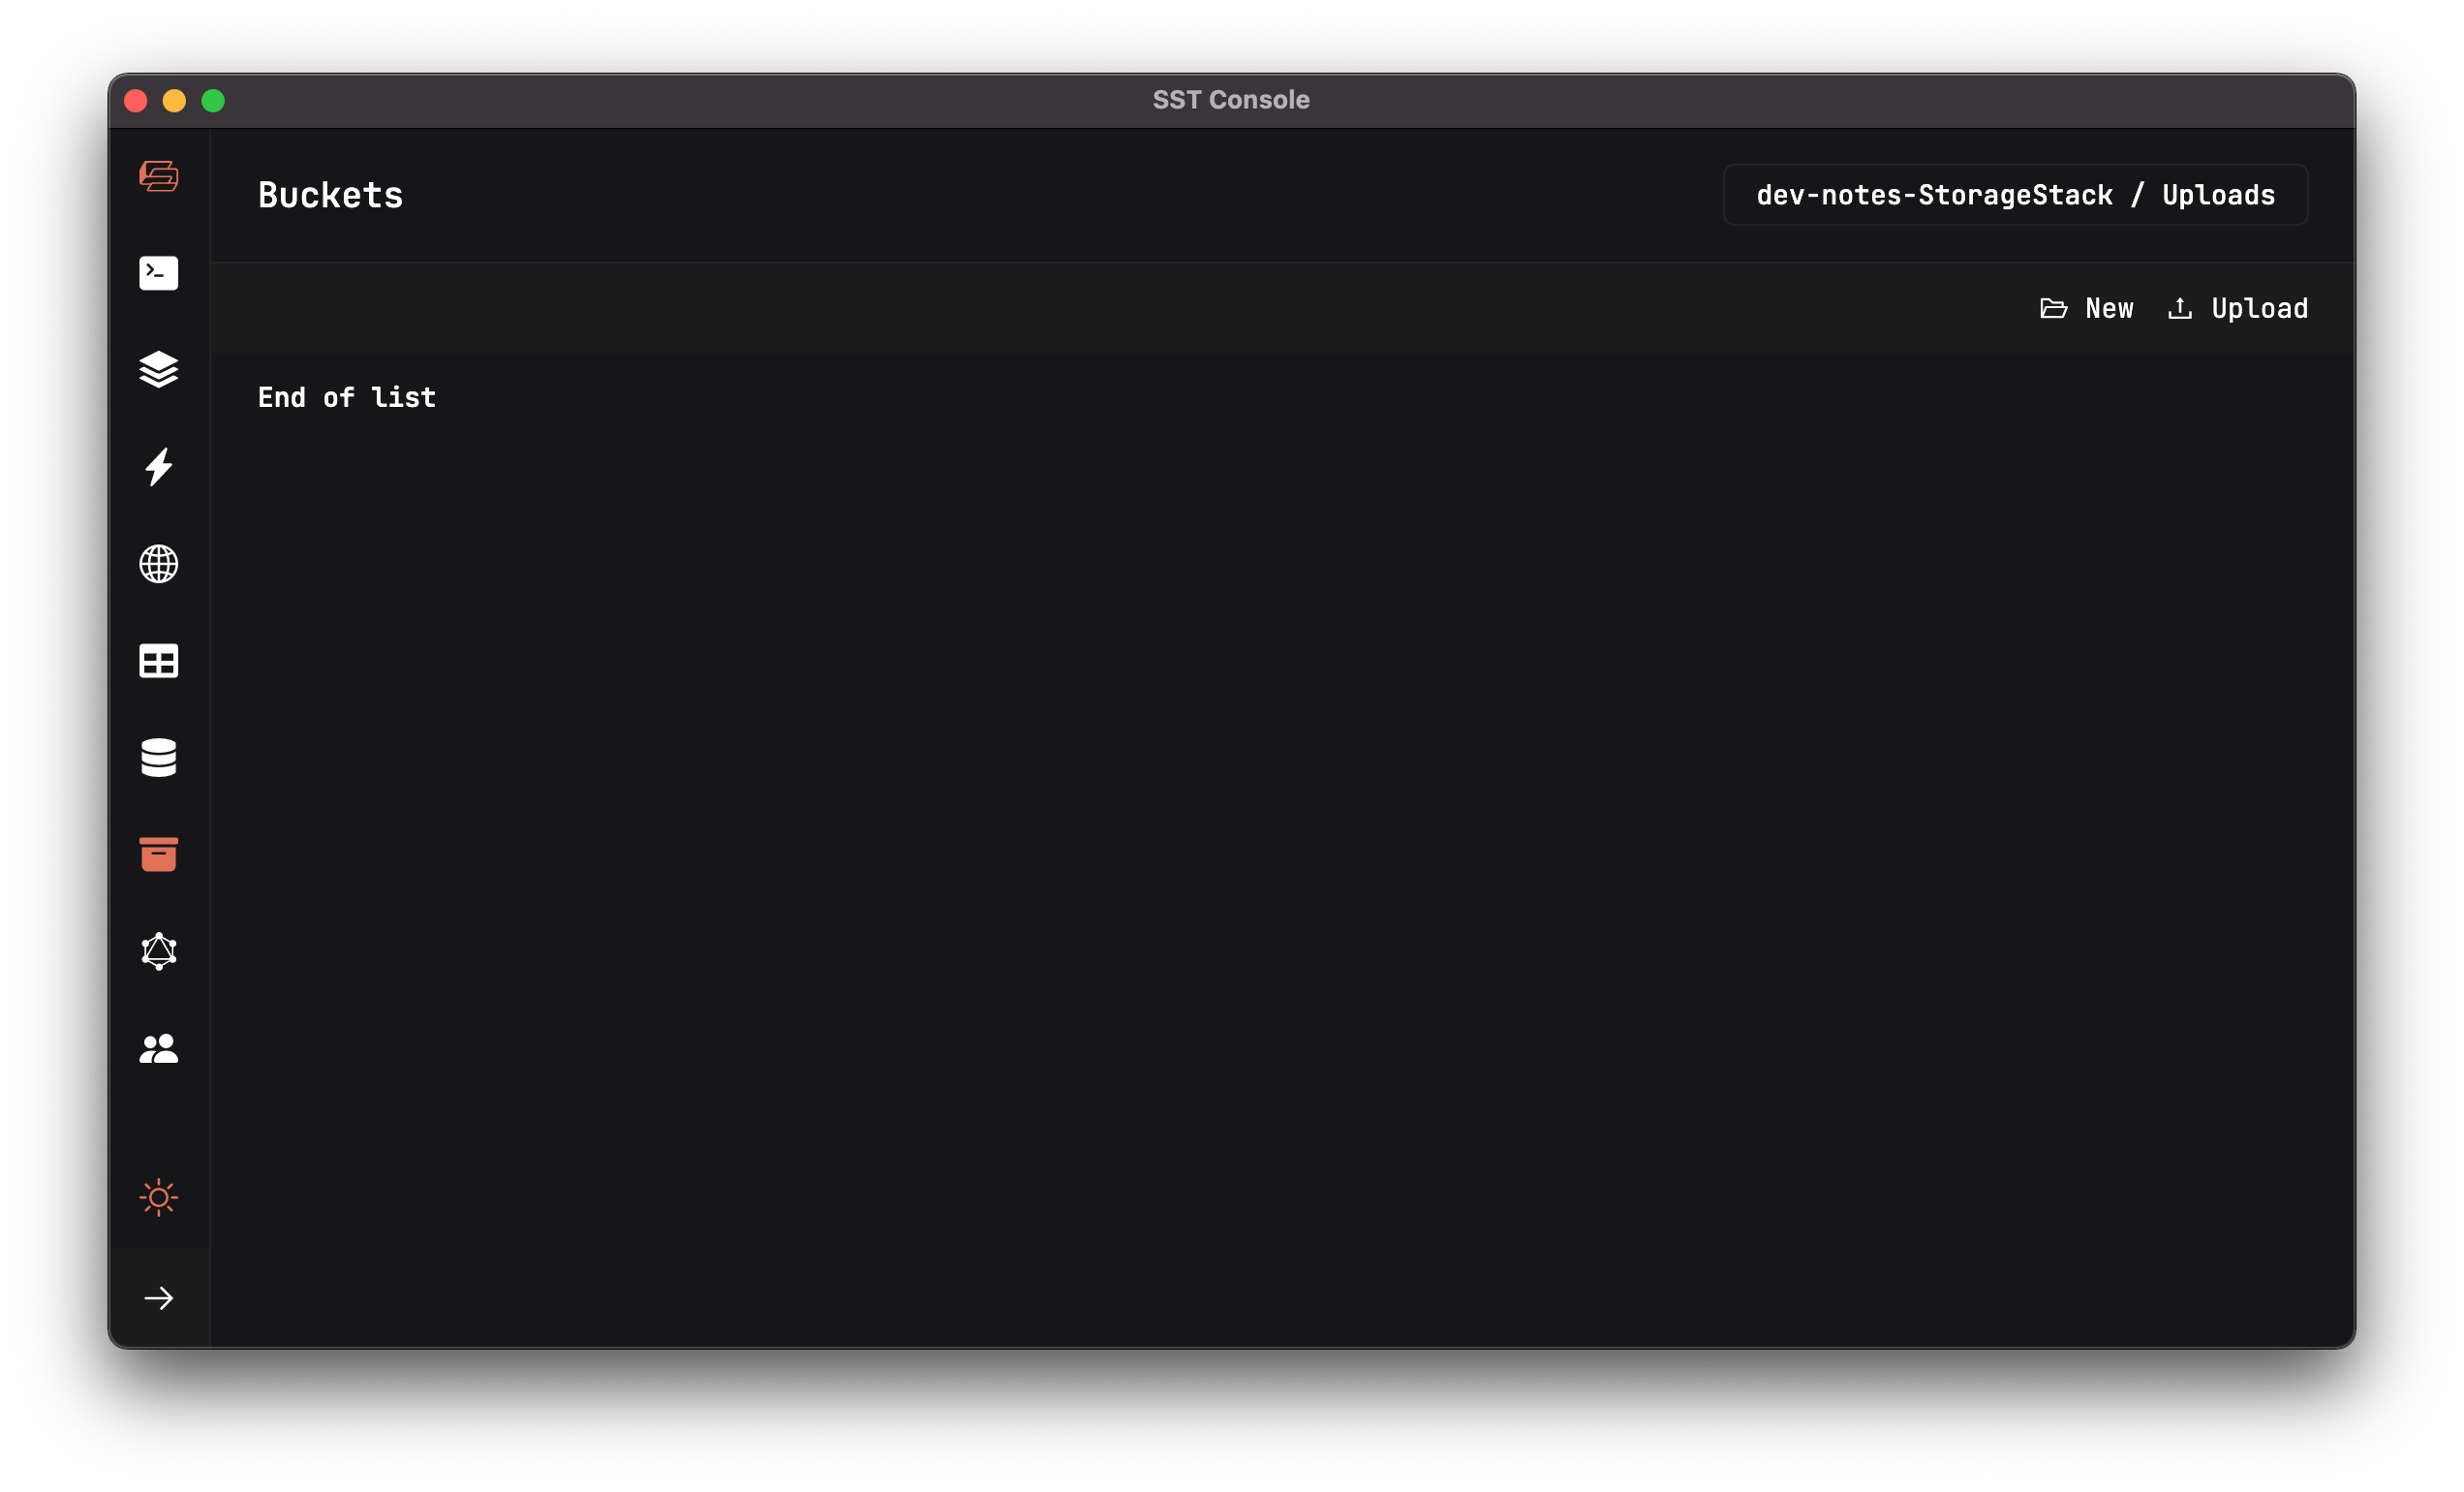
You can also head over to the Buckets tab in the SST Console and check out the new bucket.
Commit the Changes
Let’s commit and push our changes to GitHub.
$ git add .
$ git commit -m "Adding a storage stack"
$ git push
Next, let’s create the API for our notes app.
For help and discussion
Comments on this chapter